 Talentedunicorn
Testing React applications with Github Actions
Published onIt goes without saying that code testing is beneficial for a variety of reasons. But most developers (me included) tend to skip testing when working on a project mostly due to the technical effort of setting them up or pure laziness.
If you are super new to testing; the minimal setup would include a test runner and test coverage. There is a helpful article by JavasScipt January to get you started.
Test runners
These are programs that specifically run tests, they vary mostly in syntax and setup. Some of the most commonly used test runners on ReactJs are Jest, Mocha and Ava. We will be using Jest to do testing.
Test coverage
A test coverage / code coverage is a report of how much of the code has been executed when a test suite has completed. When writing tests, we need to know what pieces of the code to test. This is because the overall codebase includes dependencies (e.g. libraries) and your source code and therefore there needs to be a way to know if you’ve tested your source code.
Example application
The app we will build will have the following requirements:
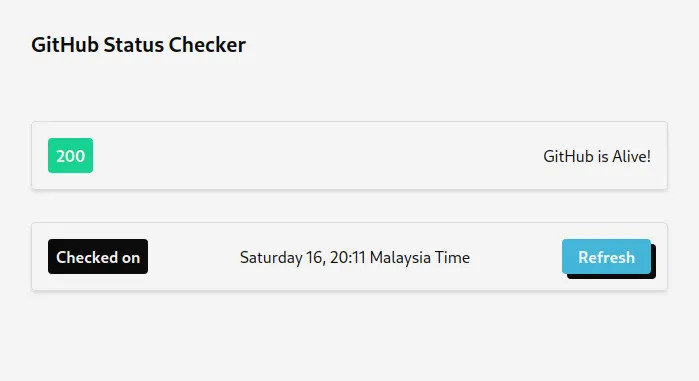
- To display the current status of GitHub website
- To display the time of the status reported
Scaffolding the application
We will start with creating a basic React application using Create React App (CRA) by running the command npx create-react-app github-status.
After the process has completed, navigate to the folder github-status and start setting up tests.
Setup and running tests
As of the time of writing, CRA comes with an initial test and bundled with Testing library to help with DOM queries.
We can run tests using the command $ npm run test inside the root of our project. The results of the test would be displayed and are refreshed when there are changes to the code.
Note: To run tests with coverage run the command npm run test --coverage
Testing requirements
Before testing we mock the fetch API in the tests and reset after each test.
....
beforeEach(() => {
	global.fetch = jest.fn().mockResolvedValue({ status: 200, text: 'up' });
});

afterEach(() => {
	global.fetch = jest.fn();
});
....
And we will use waitForElement function to handle the async fetch function before we can assert results. waitForElement documentation.
Note: waitForElement is deprecated on testing library and is replaced by waitFor
Writing tests
We shall begin by writing tests for our requirements by adding two more tests to the file ./src/__tests__/App.test.js in our project.
-
To display the current status of GitHub website We will use a test id
statusto detect the status elementtest("should display github status", async () => { const { getByTestId } = render(<App />); await waitForElement(() => getByTestId("status")); expect(getByTestId("status")).toBeTruthy(); }); -
To display the time of the status reported For the time we will use the test id
status-timetest("should display github status time", () => { const { getByTestId } = render(<App />); expect(getByTestId("status-time")).toBeTruthy(); });
Running tests
After writing the tests, run the command npm run test and we can see the tests failing. We can now build the necessary code until all our tests have passed. See the codesandbox example for the code.
GitHub Actions
If you are not familiar with GitHub Actions, it is a way to execute workflows against code on GitHub. There is an article from CSS-Tricks about GitHub Actions that go in depth. Since November 2019 GitHub opened up Actions for free to public repositories.
Setting up the workflow
We will create a workflow that does the following on each push event to:
- run our tests
- build the code
To setup a workflow, we create a YAML file on the workflows directory .github/workflows/push.yml in our case we name it push.yml with the following content:
name: Test and build code

on:
  push:
    branches: [master, staging]
jobs:
  unit-test:
    name: Run tests and build
    runs-on: ubuntu-latest
    steps:
      - uses: actions/checkout@v2
      - uses: actions/setup-node@v1
        with:
          node-version: "10.x"
      - run: npm install
      - run: npm run test
      - run: npm run build
The file specifies actions to run the workflow when certain events occur on the repository through the on: key, in our case the push event. GitHub Actions documentation has a list of current supported event
We will run the jobs on the master and staging branches using the branches configuration. We defined a job with ID unit-test which will run on an ubuntu-latest container. The next line describes the steps to take:
- Using
actions/checkout@v2a community action to checkout our code in the container. - Using
actions/setup-node@v1to setup a node environment on the container.
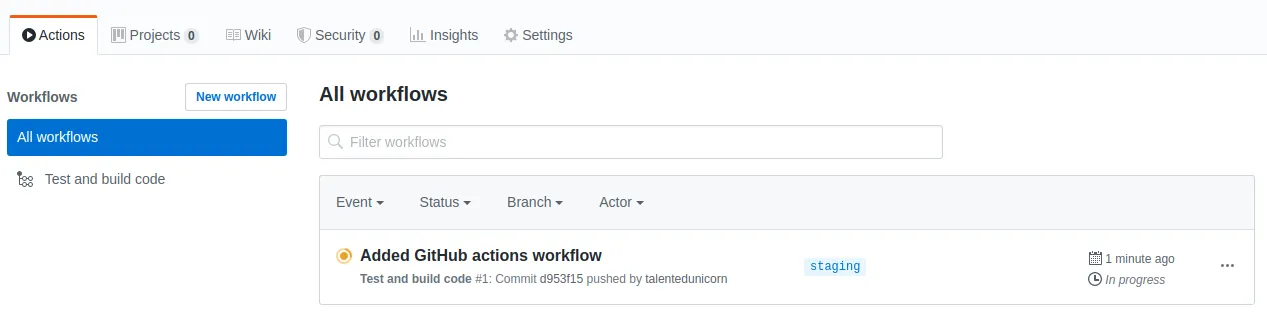
When we push the code, we are able to see under the actions tab on GitHub our tests and build running.
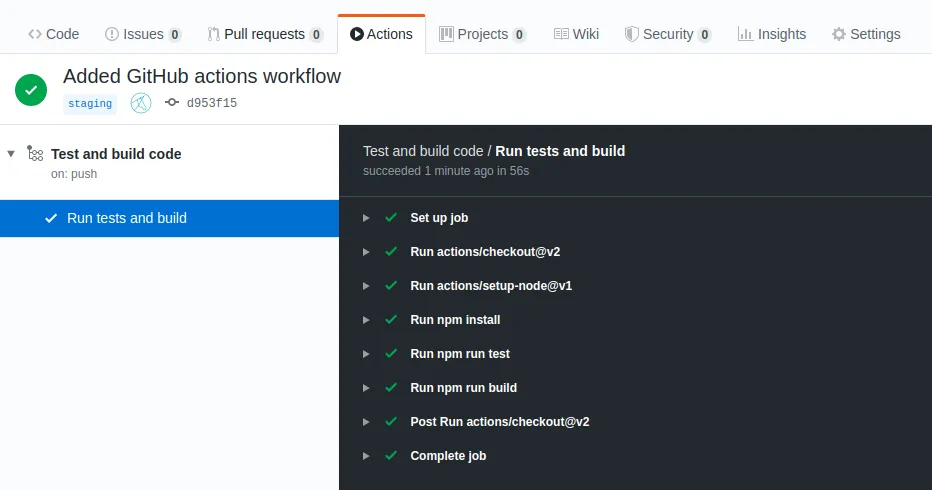
We can view more details by clicking on the workflow, in this case the tests and build had been executed and completed successfully.
This is just one example of GitHub Actions, you can create your own workflows or use something in the marketplace. Hope this was fun and informative.